
.svg)


Virtual Signatures are nothing but an electronic representation of one’s physical wet-ink signature. Using Leegality, you can either draw your signature electronically or choose from a computer-generated template of your name, which can be placed anywhere on the electronic agreement as per your choice. Under Section 10A of the Information Technology Act, 2000, Virtual Signatures are a legally recognised method of entering into an agreement and can be used to eSign most types of documents.
However, Virtual Signatures do not rely on the same technology (a combination of hash functions and asymmetric crypto system) as Aadhaar eSign and DSC Tokens. Therefore, to bolster the security and enforceability of your eSigned documents, Leegality backs up your Secure Virtual Signature using a neutral digital signature, which ensures that your documents eSigned using a Secure Virtual Signature are tamper proof.
Here are the steps one needs to follow to eSign a document using Secure Virtual Signatures:
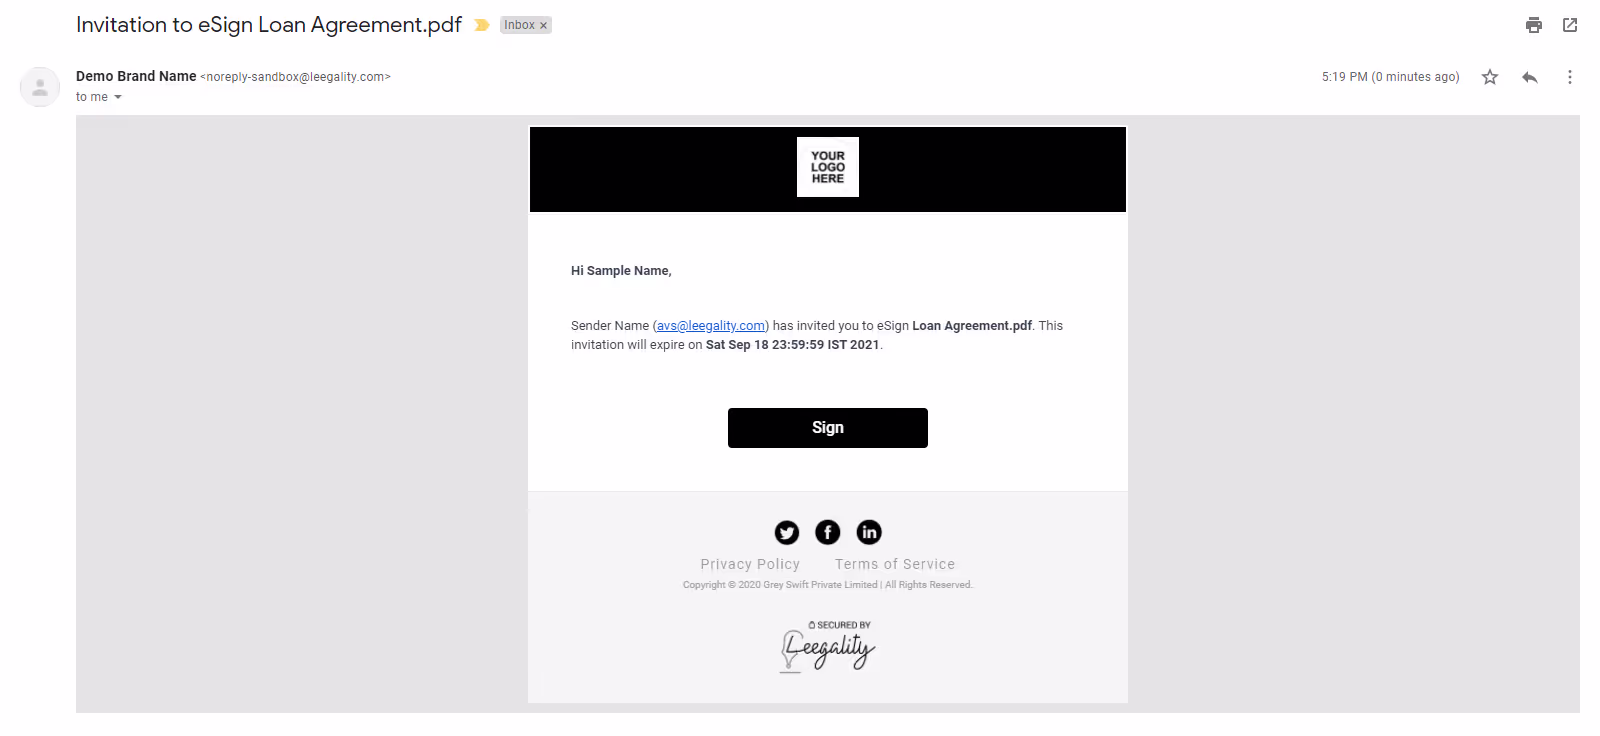
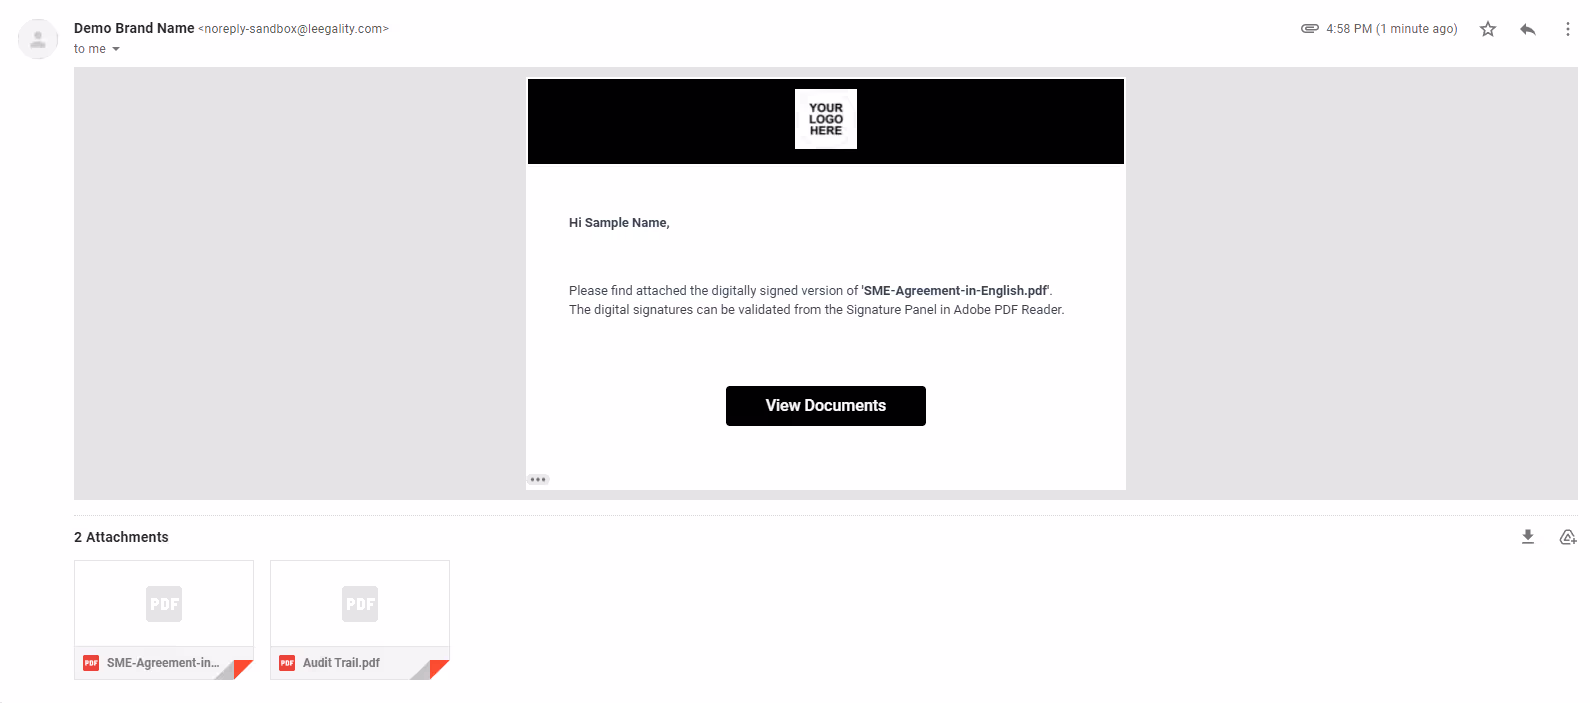
Step 1: Based on your contact information available with the person sending the document to you for signing, you will receive a signing link on your email and/or phone. The email invite looks like the picture above.
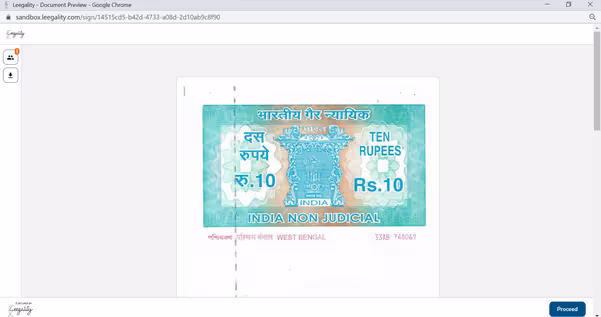
Step 2: Once you have clicked on the ‘Sign’ button (for an email invite) or the signing link (for a mobile invite) you will be redirected to the Leegality Gateway. Here you can review the entire document - go through the contents, look at the placement of the signatures etc. Once satisfied, click on Proceed.

Step 3: Enter the OTP received on your email and/or phone and click on Proceed.

Step 4: In case the sender has switched on GPS Capture feature as a security measure, then your geographic coordinates will be captured by the Leegality Gateway. Click on Proceed once the process has been completed.
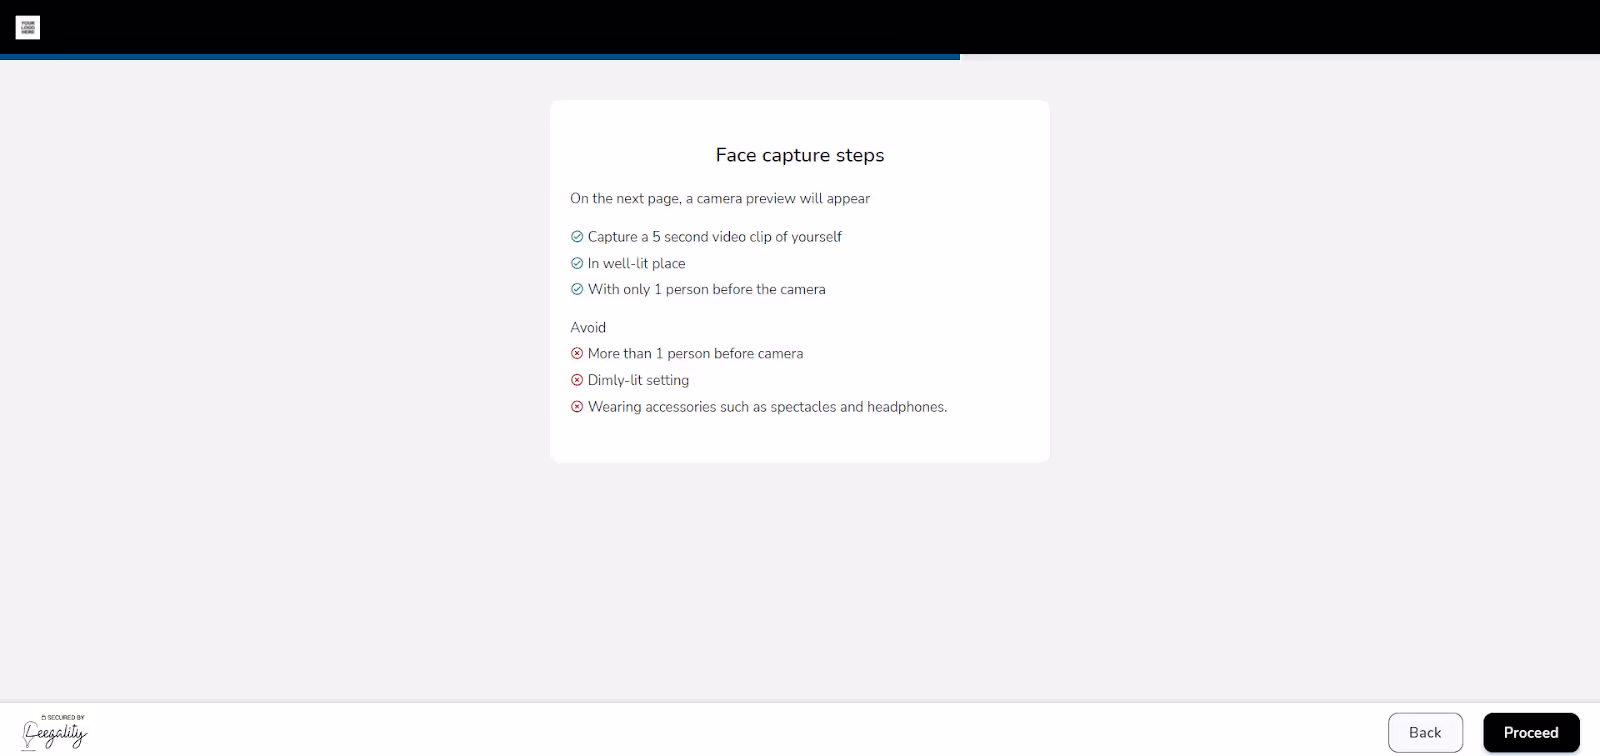
Step 5: In case the sender has switched on Face Capture feature as a security measure, then follow the steps on your screen and click on Proceed. Once your image has been taken, click on ‘Capture’.
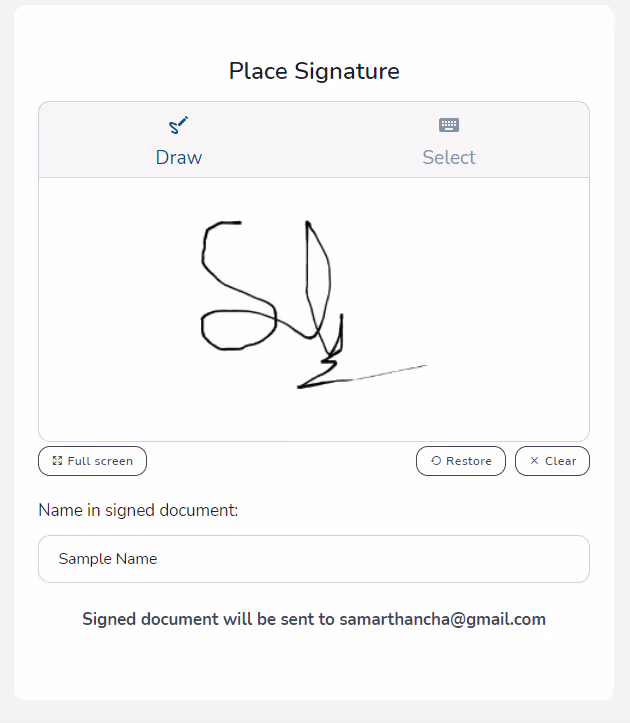

Step 6: The next step is choosing the type of signature you want to affix. You can either draw your own signature or choose from computer-generated options. Once done, click on Proceed.
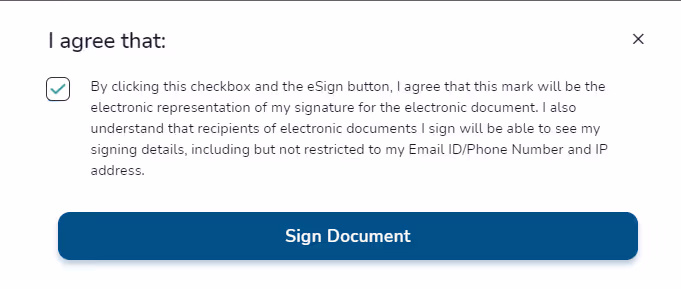
Step 7: The final step is to give your consent for your virtual signature to be used to authenticate the document. Check the consent box and click on ‘Sign Document’.
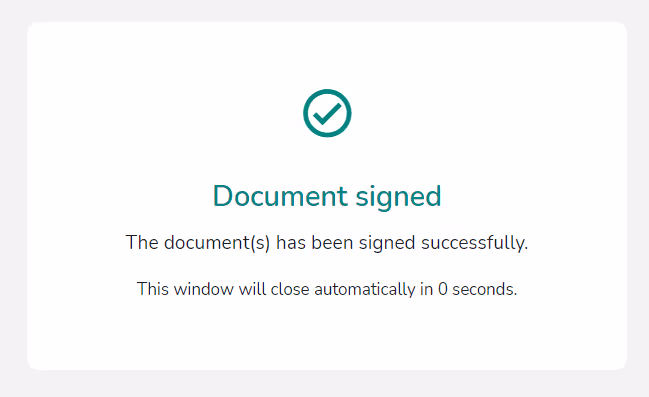
You have now successfully signed your electronic document. You can view the signed document once all the signatories have signed. A copy of the completed document along with the audit trail is sent instantly to the sender and all the signatories.


%201%20(1).avif)